When I first saw the new Royal Enfield Mk3 Interceptor 650 I noticed the massive wide spread upswept mufflers , huge brake/tail light and wide indicators and thought,
“There must be something you could do with that ! ” .
When the bike first came out I initially intended to purchase one to use as a tourer, I thought it was going to be a larger more comfortable version of the Classic 500 but alas it was almost the same size and seemed cramped for the pillion and did not accommodate luggage very well. I test rode it and thought it goes great lets see how it goes 2-up. We came back and did a quick test ride around the streets and it felt too small and less accommodating compared to our Triumph Tiger touring setup that we had just jumped off of.
That was a few years back and I recently made the decision to replace the Classic 500 ( i.e. give it to my son who just got his L’s ) and bought the Interceptor as a solo bike but I still wanted to be able to carry a pillion with some light luggage like wet weather gear etc so we could attend Royal Enfield Club of Australia events 2-up on an actual Royal Enfield instead of a Triumph.
Luggage
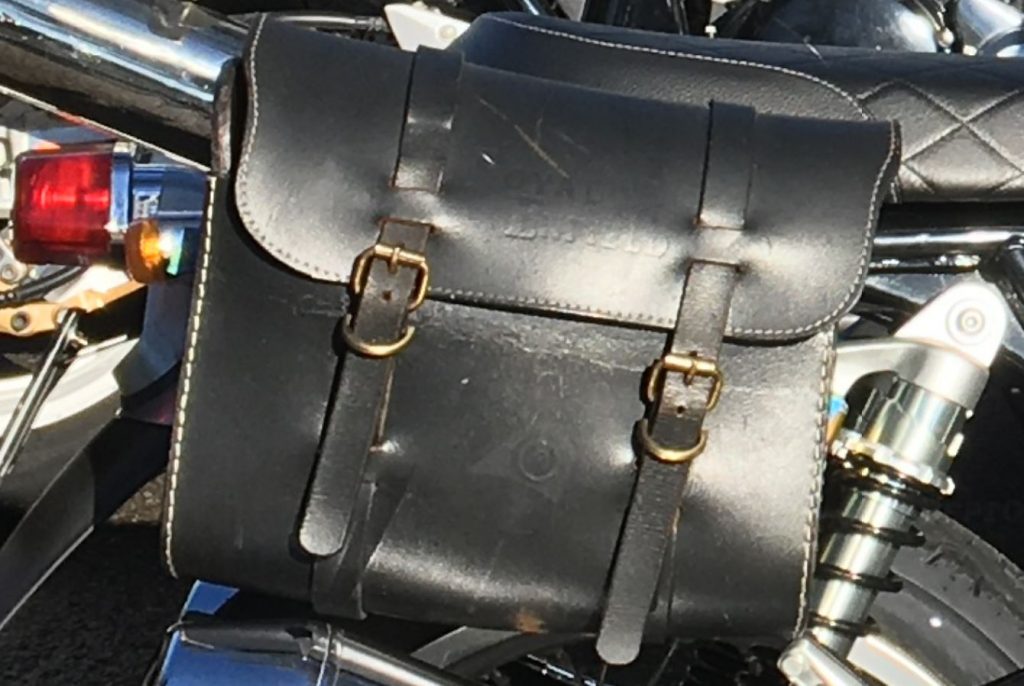
I have a pair of small leather “Royal Enfield” pannier bags that I used on the Classic 500 to attach to the mudguard stays and thought that they might attach to the rear subframe on the Interceptor. I got excited and got them out of the shed and pulled the seat off the bike to attempt to fit them only to find they 1) blocked the pillion pegs, 2) touched the mufflers and 3) rubbed on the indicators. Not one to shy from an engineering challenge I attempted to work around the problem and find a solution.
Wanting to go riding on my new toy I quickly masking-tapped up the shock reservoir, spring and the chromed-plastic back of the blinkers to avoid any wear and simply pushed the bags back high on the rear grab bar until they cleared both the pillion pegs and the massive stock mufflers. This worked for the moment but they moved around and sagged onto the pipes and I also didn’t want to have the bike tapped up like a footballer to prevent injury.
The indicators needed to go, I wished I had replaced the ones on my 2012 Classic 500 as the chromed plastic is now quite pitted. I will put them away and if I ever want to sell the bike it can be restored to original spec and the indicators will look like new. In order to move the blinkers out of the way the huge heavy tail light assembly needed to go along with them.
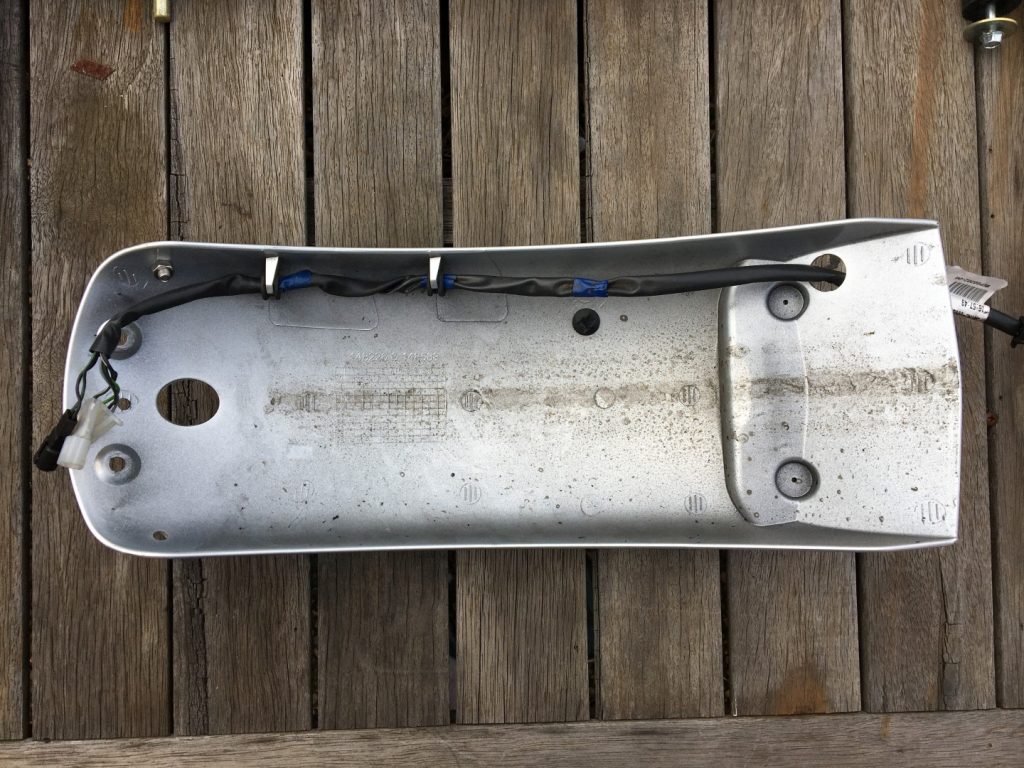
I set about removing the rear assembly and found, just like the KTM Freeride rear-end I recently repaired, for weight savings the rear mudguard, tail lights, rear mudflap etc all bolt to each other and form a composite unit were you cant just remove the tail-light for instance as the mudguard bolts to it and then the number plate attaches to it as well. It was all or nothing. With the cast aluminium mounting block and the other oversized components the rear light assembly weighs over 1 kilo.
Having removed the whole assembly I found that there was a diamond-shaped, four-holed, bracket attached to the rear sub-frame. I didn’t even have to get in the bath to have a Eureka moment and quickly the design came to me in my head. I quickly re-assembled the rear lights and mudguards and It was off to Ebay to buy bits and wait for them to come.
The thing next was the exhausts
There are a more than a few problems with the stock pipes, diameter , weight (4.5 kilos each) width (splay) and upsweep and there are a few options on the market ranging from cheap chinese EMGO knock-offs to AEW Pune Indian stainless steel slip ons, to the Stars and Stripes S&S version or the hand-built-in -Tassie Verex customs .
Eventually I want to make some performance changes as well as replacing the muffler’s size and location but since the pipes are double-walled and also needed to be changed to achieve the desired muffler position I would need to make changes to the engine management system to accomodate for the better breathing. This would invalidate the factory warranty so I decided to leave those changes till the bike is out of warranty. I also didn’t want to spend thousands of dollars to get a few horse power more when i have more powerful bikes to ride if i want to go faster …….performance modifications are another story that I will cover in due course.
In order to achieve the clearance I realised that the pipes maybe didn’t need to be relocated requiring new headers and that all they need to do was be reduced in diameter. This became apparent when watching The Enfield Guy Jimi Swan’s video on installing a sump guard (click for video) and noticed that he had put some black EMGO styled reverse cones with a pipe wrap on his Ravishing Red (and black) 650 which looked great so I messaged him and asked him about them.
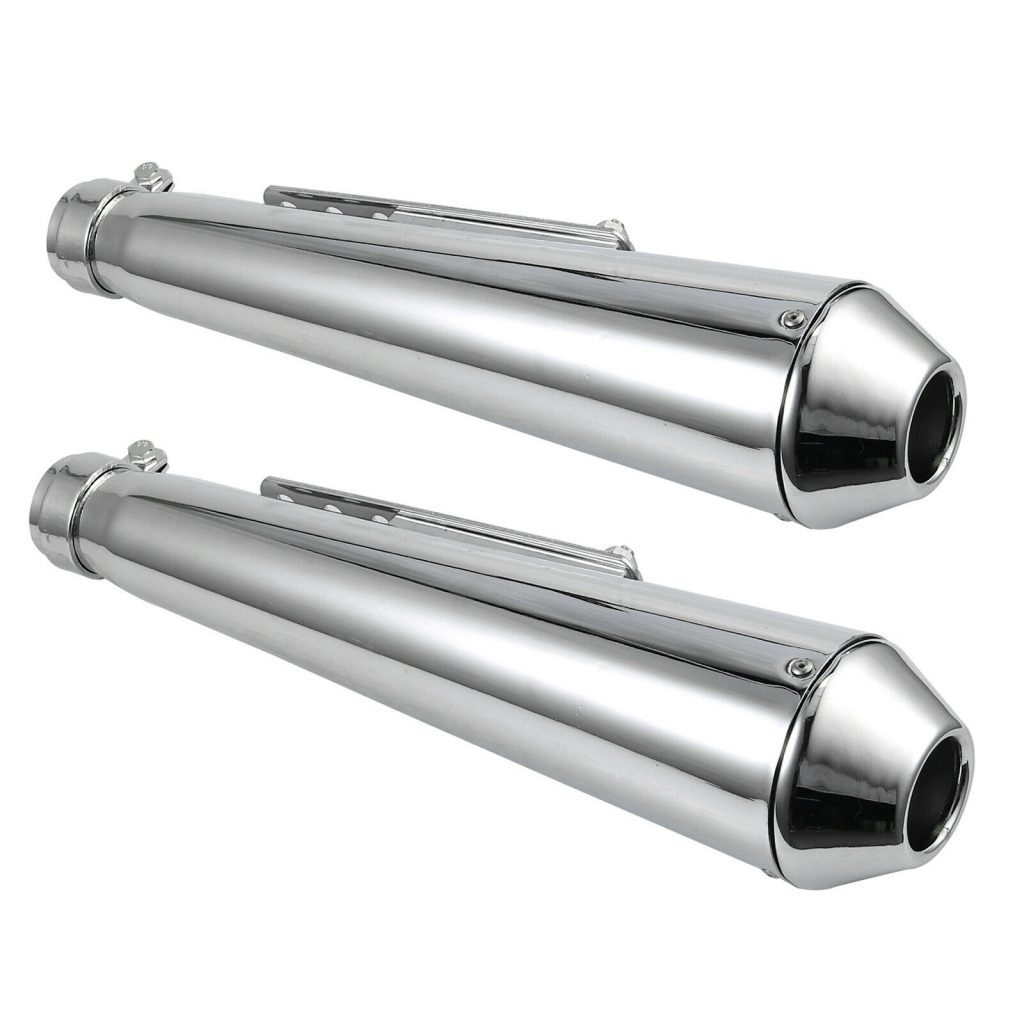
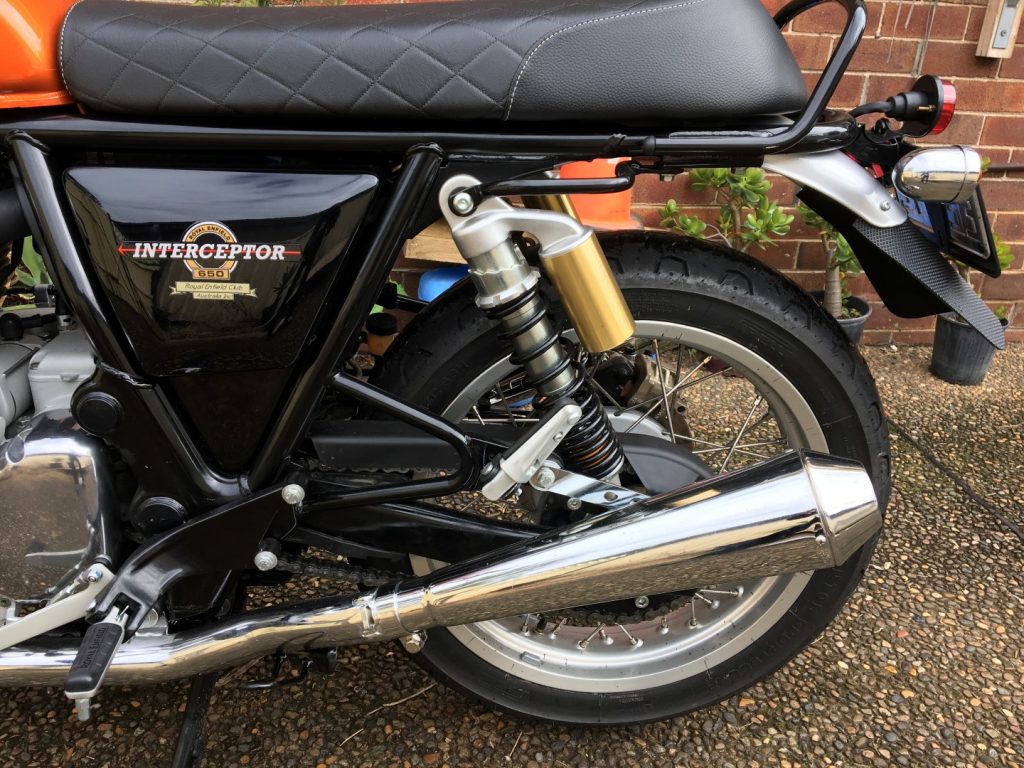
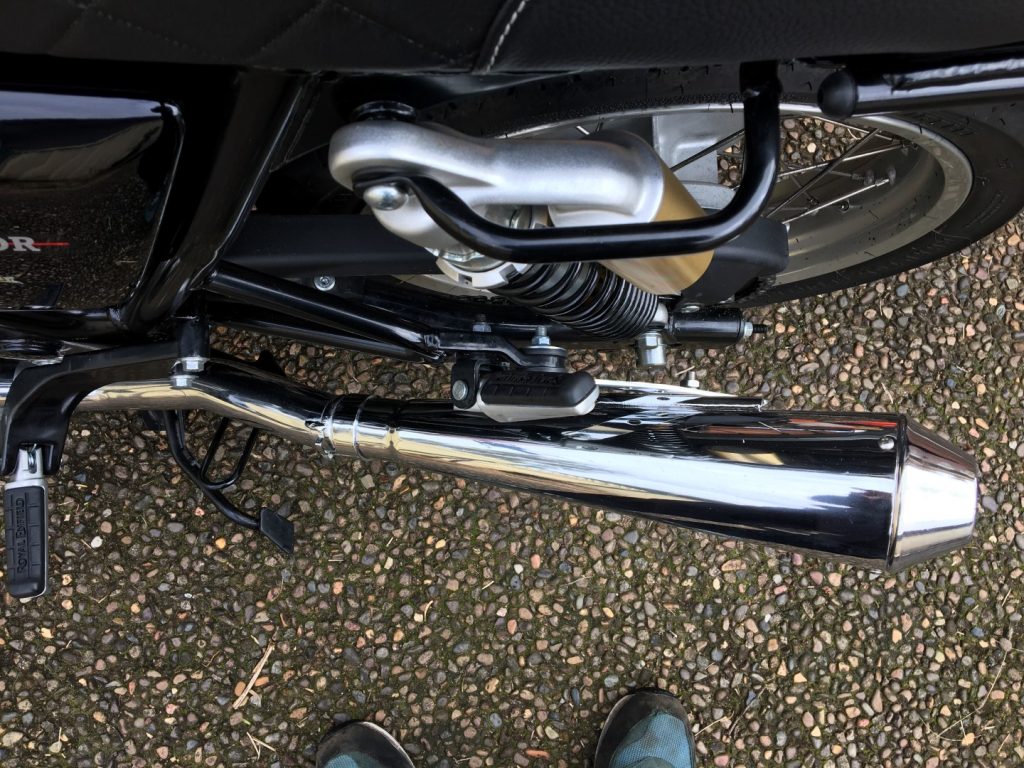
I ordered some chrome ones from Ebay and for 100 bucks I had solved both the width issue and the pannier clearance problem and had some better looking and sweet sounding reverse cones that are not too loud but make a deep HSV Commodore V8 burble when downshifting.
Another benefit is the weight – the stock mufflers are 4.5 KG each these ones save over 6 kilos in weight
The rear end….and a pain in the arse
The bits started to arrive, but I was getting impatient. I am careful when buying stuff especially at the moment with corona delays, of where stuff on Ebay comes from. I chose a few parts from Melbourne thinking it would take only a few days. The sneaky buggers can lodge the Consignment Note with Aust Post and you get sent a notification and an estimate of the delivery which was about 3-4 days. I kept checking each day but there was no movement at all. This went on and on and when I complained they advised a new CON-NOTE number and ETA and when it turned up 2 weeks later it was evident that this had come from China to Melbourne as all slack arses did was turn the mail satchel (covered with chinese post labels) inside out and mail it on to me. Oh well it’s a bit of a chuck of the dice, The pipes had come from Revesby in 2 days as had the other bits from Melbourne.
Anyway, I started to rip the back end apart and think about the design and how to do it without destroying the original setup so I could return it to stock if needed. I realised I needed to fabricate a bracket but also be able to tie everything in as mentioned above like the old song.
The foot bones connected to the heel bone
The heel bones connected to the ankle bone
The ankle bones connected to the leg bone
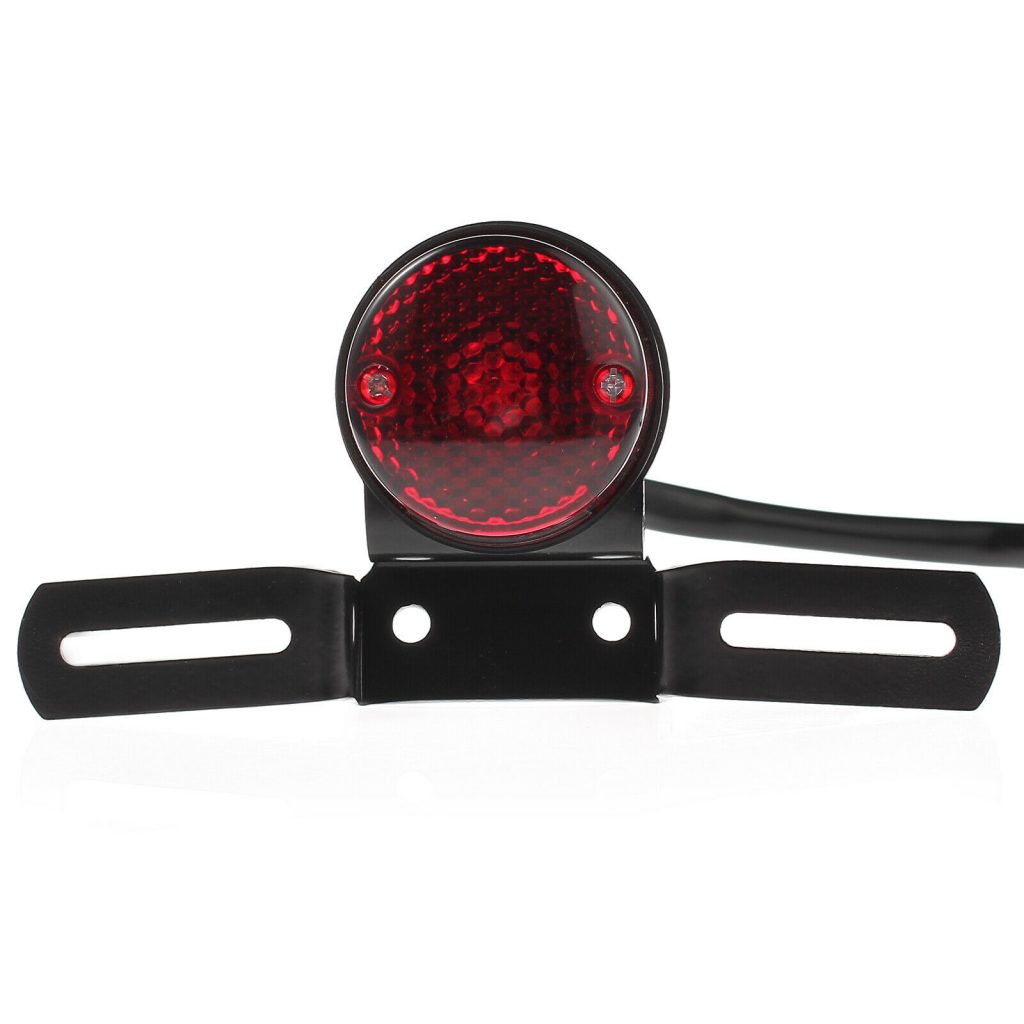
Once apart I did some measuring the Idea came to me to use the stock number plate holder and to modify the cheap Ebay tail-light not the $10,000 bike.
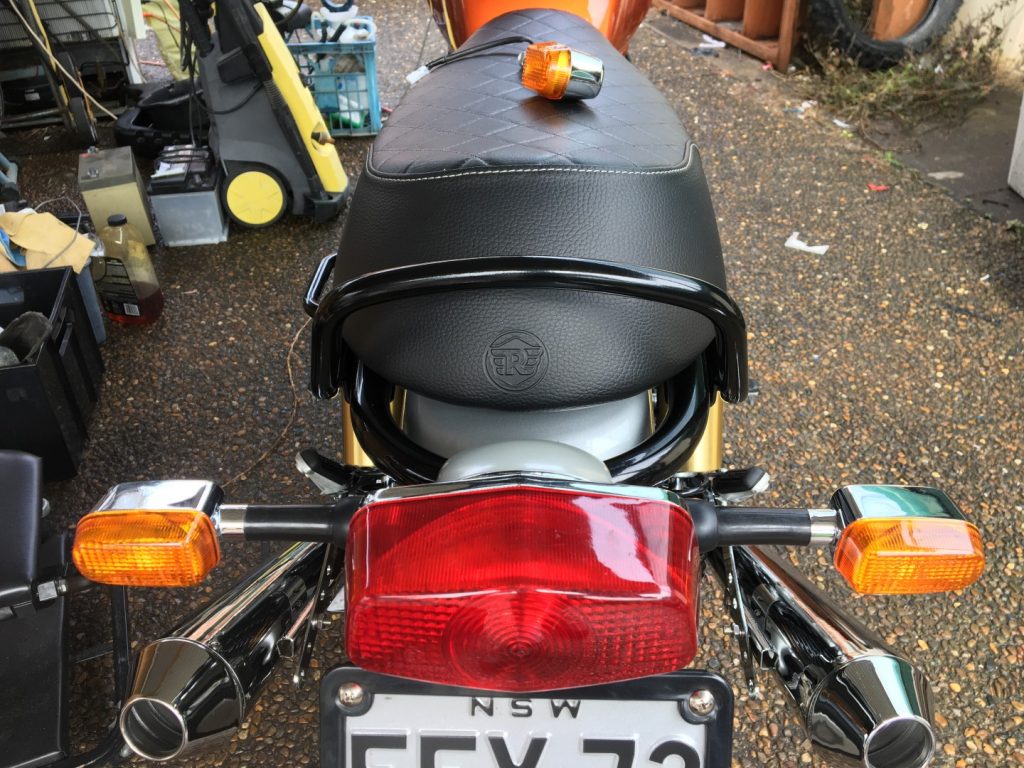
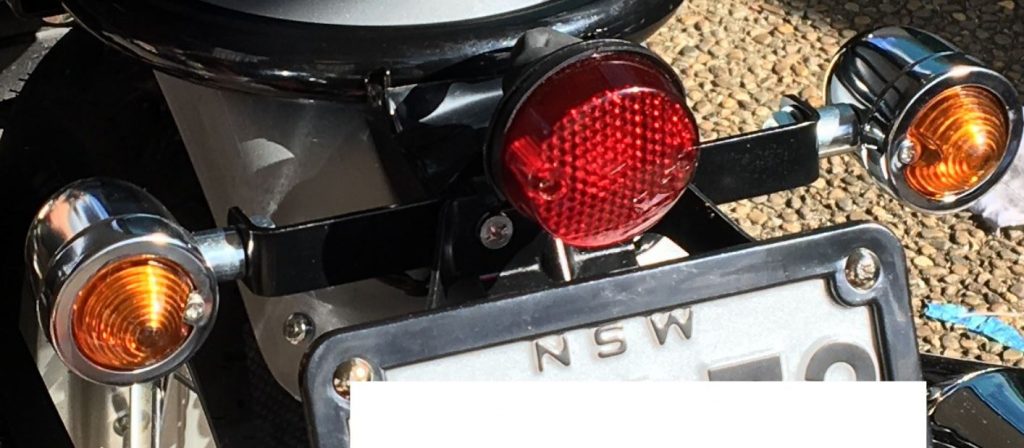
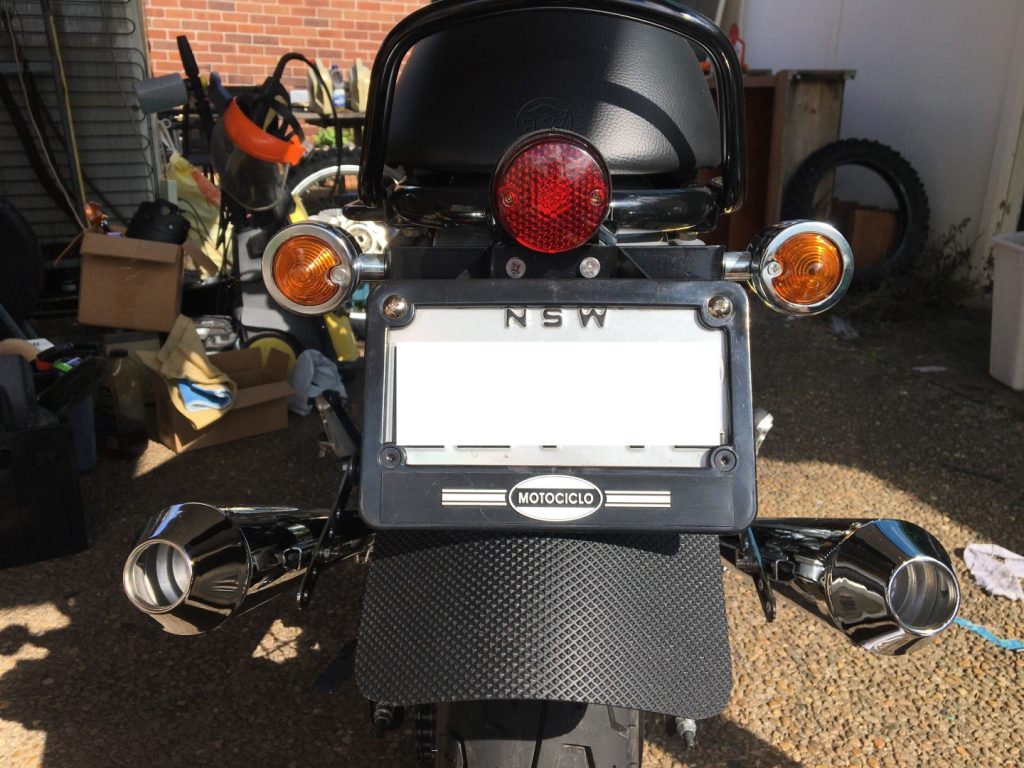
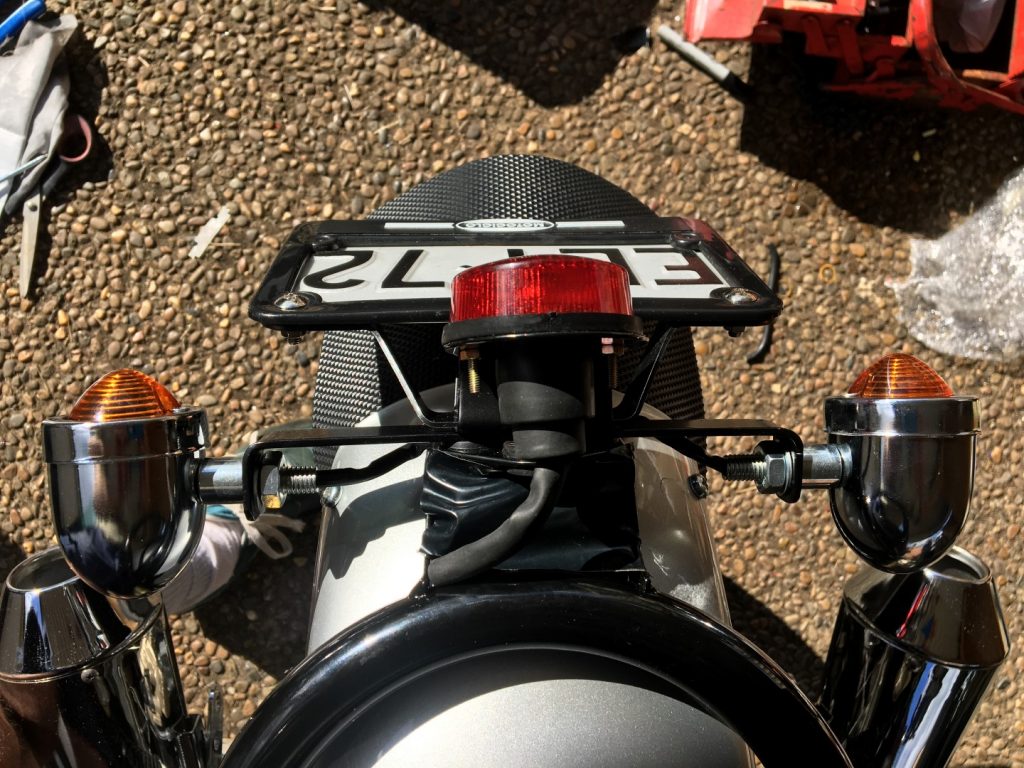
The rear sub-frame has a diamond shaped bracket with four rubber bushed holes, two horizontal across the middle held the number plate holder and miraculously the tail-light hole spacing was also 4cm and this would bolt on to those holes. I chopped the number plate holders off the Ebay tail light and I also needed to fabricate an indicator mount which would also use the two horizontal holes.
The Indicators needed to clear the number plate width wise due to the location of the holes otherwise they would be behind the number plate. For uniformity and aesthetic correctness and a bit of OCD, I made the bracket the same width and used 30mm steel strap which was the same height as the number plate bracket mount as well.
A couple of bends and some holes and it was ready for paint,
The bottom of the four holes was used to mount the plastic mudguard to the rear sub-frame by drilling a 6mm hole through it (the only irreversible mod by the way) and the top hole will be used to mount a black metal cover plate to hide the wiring.
Speaking of wiring
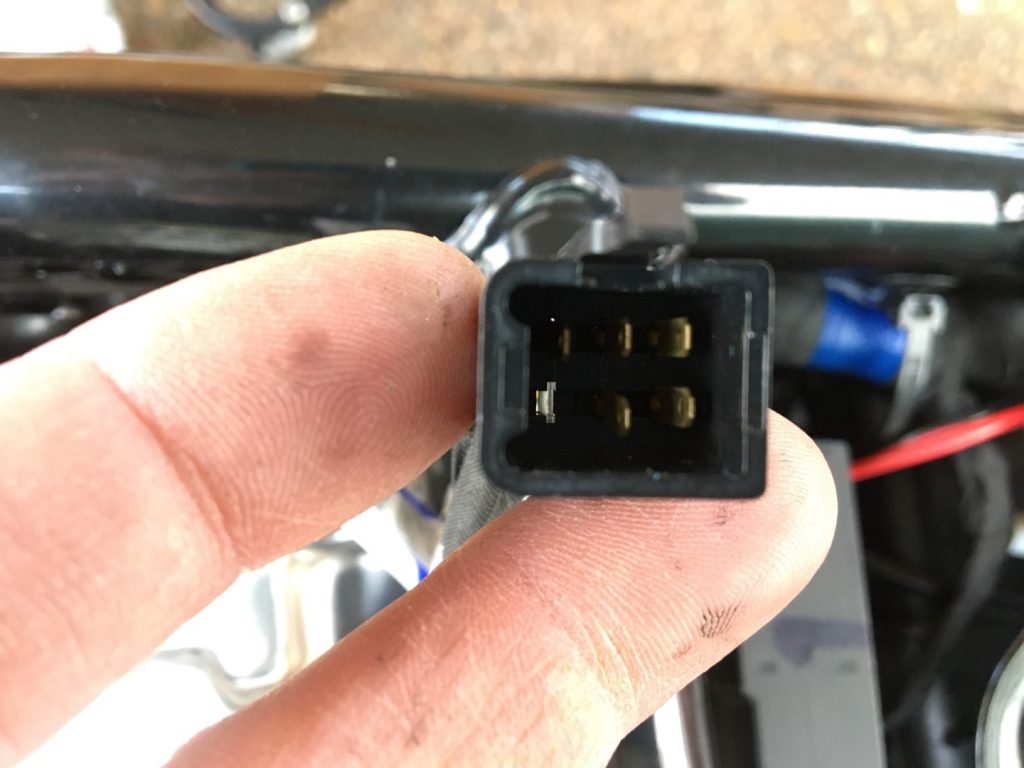
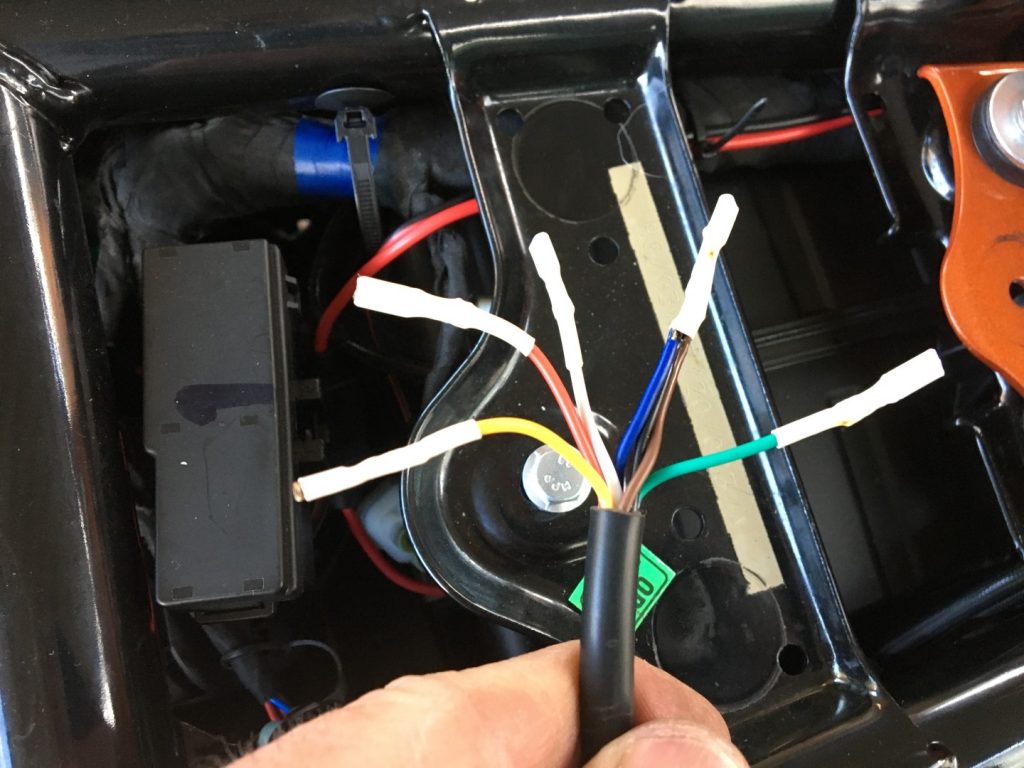
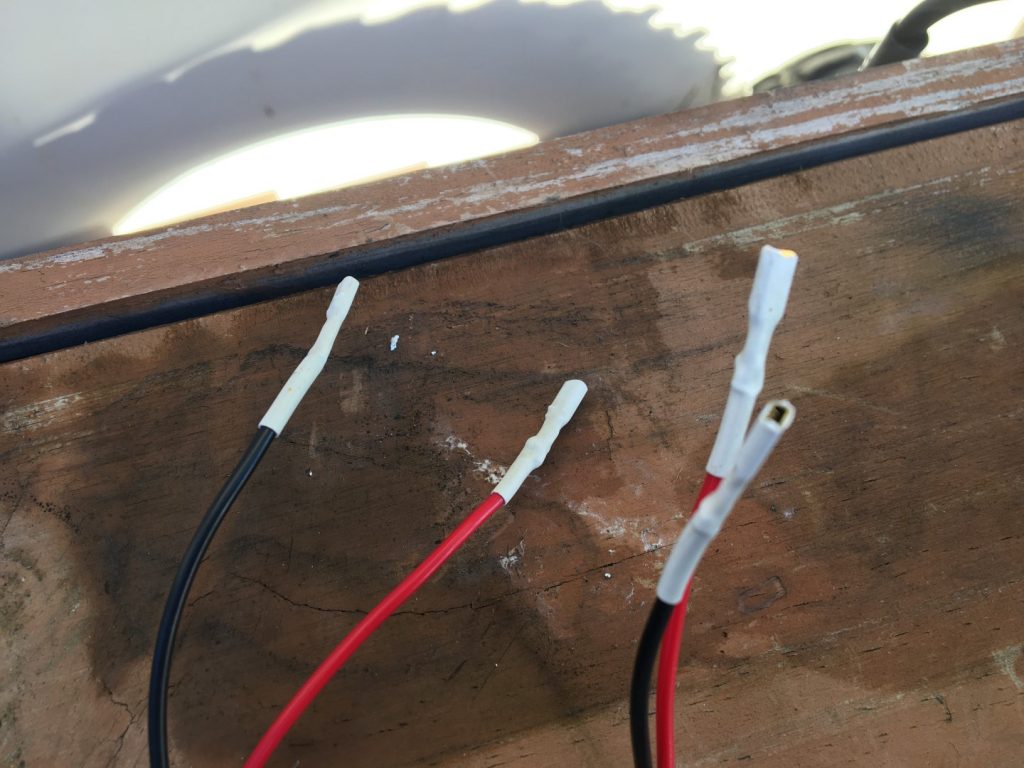
Like the indicator and tail light mounts, i did not want to modify the bike in any way so I could reverse it if need be. I looked under the seat and found the rear wiring loom connects to a plug. Rather than chop up the rear loom to suit the new indicators I decided to make my own rear wiring loom out of 7 -core trailer wire and went off to Jaycar to buy some small spade connectors to suit the plug and some bullet connectors for the indicators.
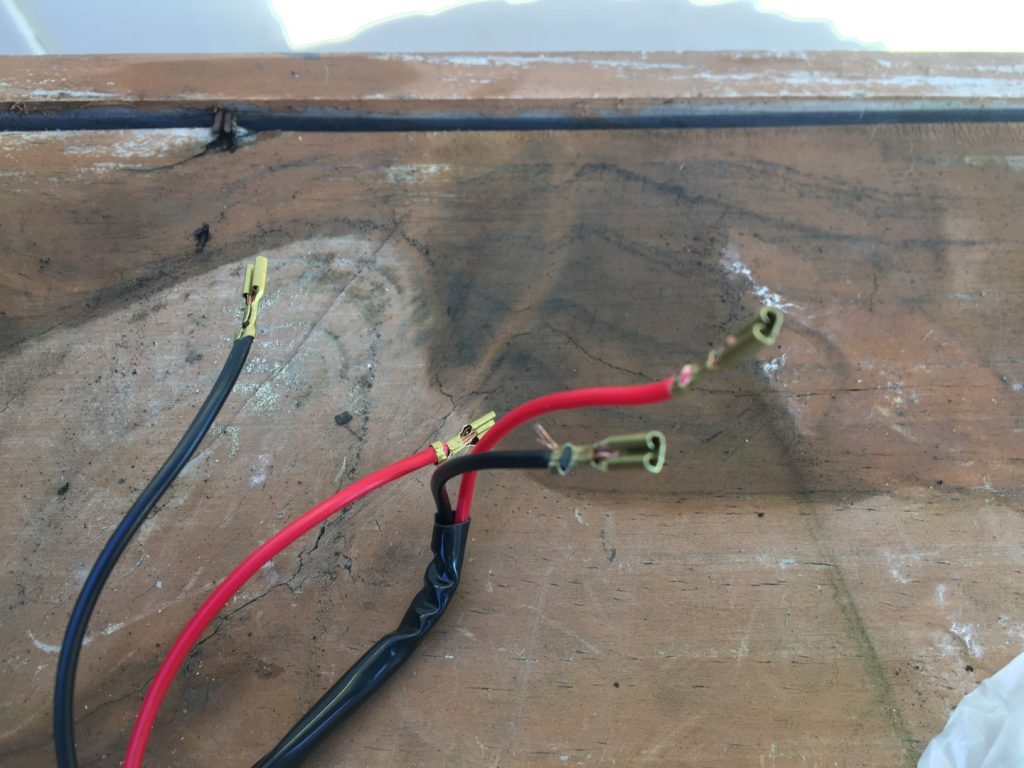
The spade connectors are not insulated so the needed to be heat-shrinked so they dont short out
Front end
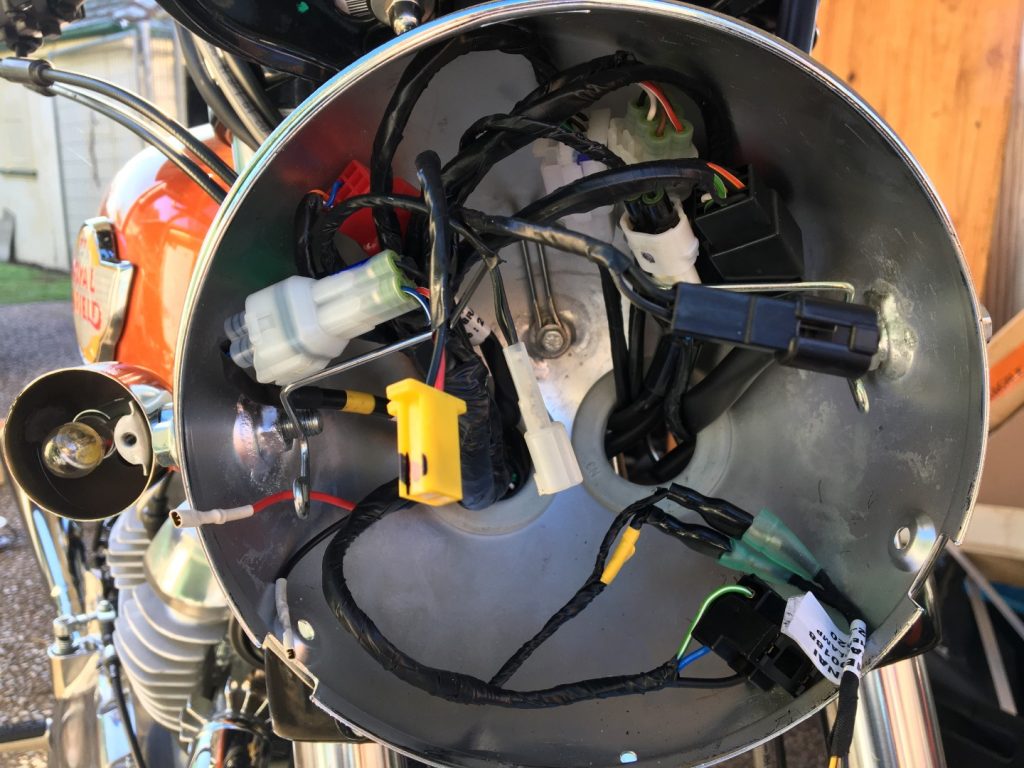
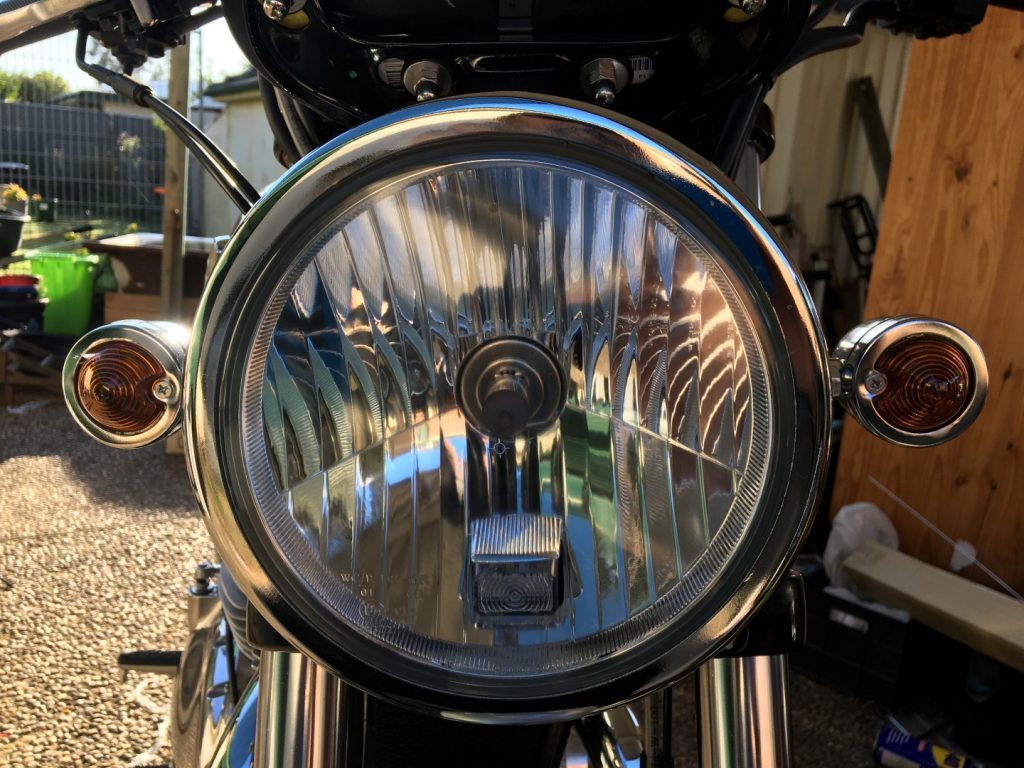
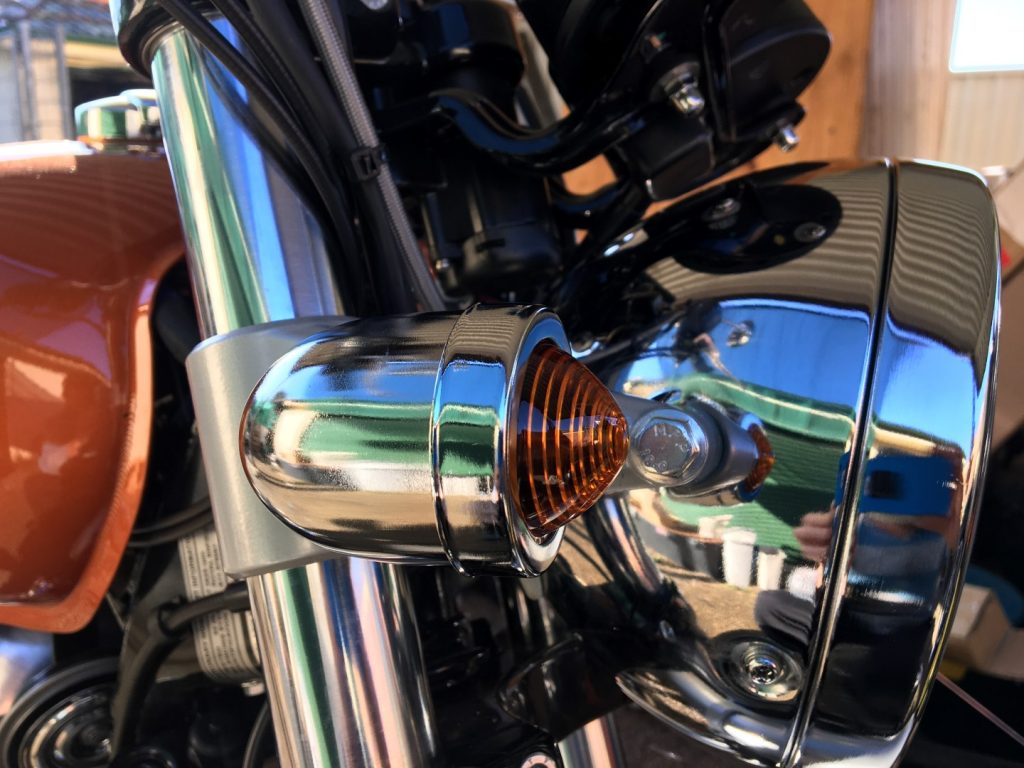
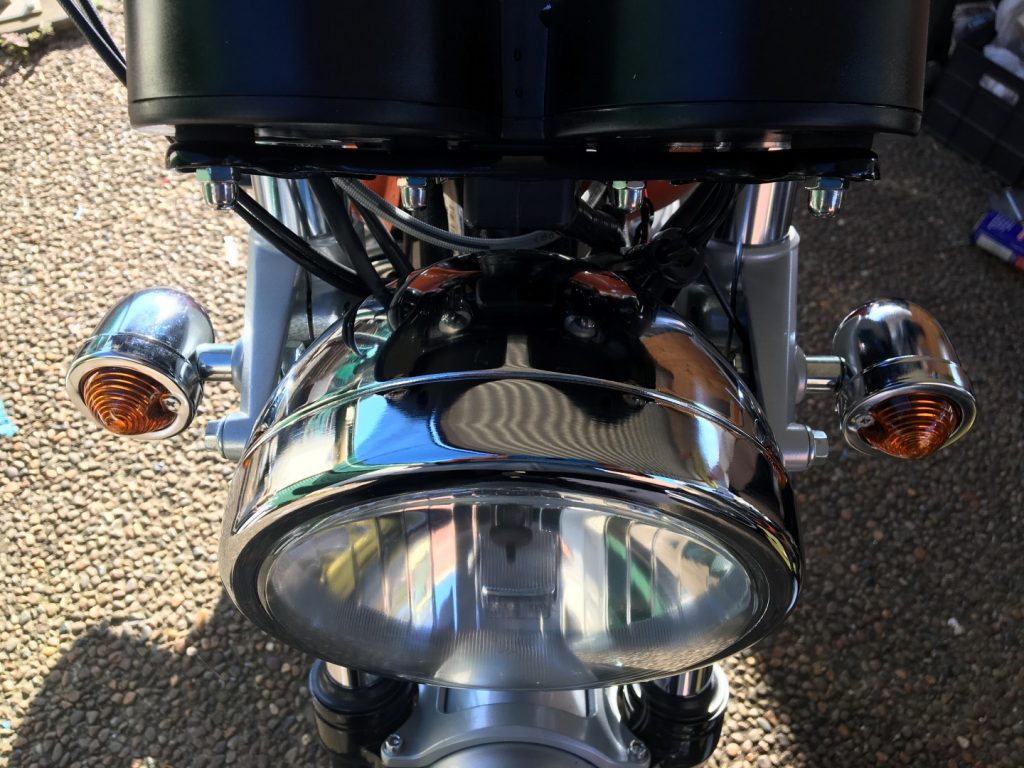
The front indicators were a simple swap and go procedure. Unbolt the stock ones, take the lens of the headlight, unplug the OEM indicators and remove. Then change the connectors on the EBay indicators from bullet connectors to spade connectors to suit the stock plugs located inside the headlight and bolt them on to the original mounts.
Finished Product
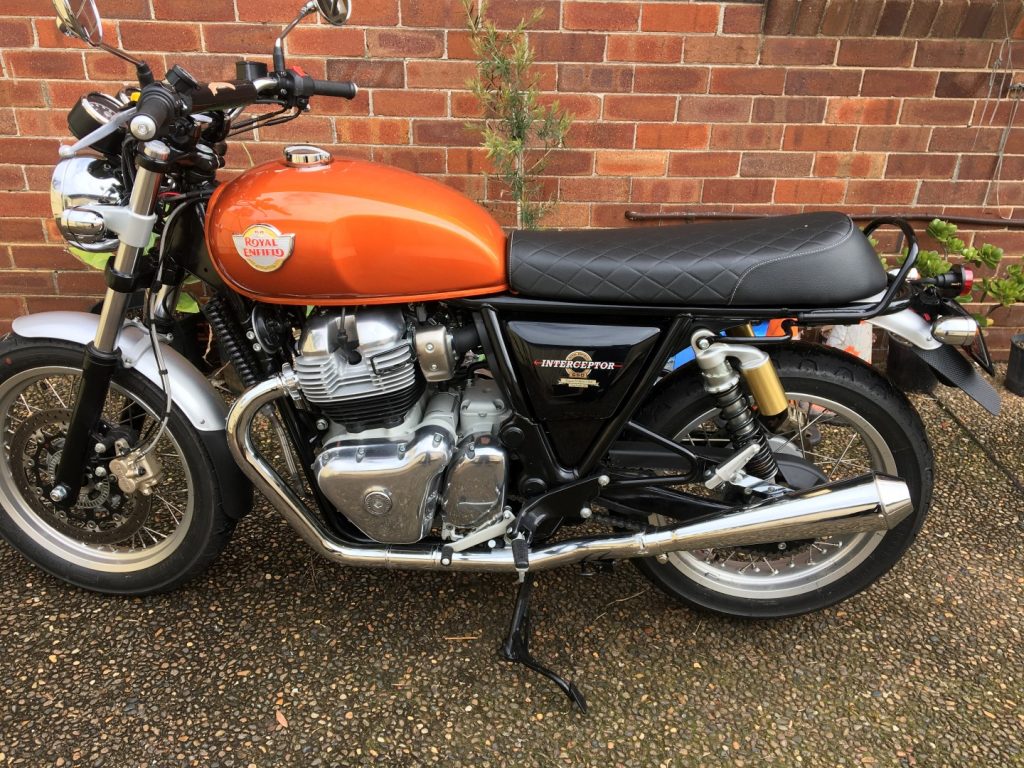
I am happy with the look but it was more about the practical side of being able to have a pillion and panniers without the two interfering with each other or the bike. I now can fit the panniers without them touching the mufflers, rubbing the indicators or getting in the way of the pillion foot pegs.
Did you notice the mud-flap ? – this is work-in-progress as on the last ride it got sucked into the back wheel by air pressure and got zinged by the tyre
Back to the drawing board
Parts List
$95.95 2pcs Universal Motorcycle Tapered Exhaust Muffler Pipe Silencer For Cafe Racer
$18.95 Universal Motorcycle Tail Brake Light Number License Bulb Retro Rear Stop lamp
$46.95 4x Bullet Motorcycle Chrome Turn Signal Light Indicator Harley Chopper bobber XL
$159 Pannier bag, BLACK. Royal Enfield embossed NB Black are currently out of stock but Brown are available

Recent Comments